Kitchens often need updates over time, and countertops take a lot of wear from daily use. Maybe stains show up, or the style feels outdated. But a complete kitchen overhaul costs too much and disrupts life for weeks. What if you could swap just the countertops and keep everything else? This guide shows you step by step how to do that. You’ll learn about planning, picking materials, and installing without big changes to cabinets or floors. By the end, you’ll see it’s possible to refresh the space on a budget and with less hassle.
Why Replace Countertops Without Remodeling the Whole Kitchen?
This section explains reasons to update only countertops instead of redoing the entire room. It covers benefits like saving money and time.
Many people want a fresh look in their kitchen but dread the idea of a total redo. Replacing only countertops lets you fix problems like cracks or outdated designs without touching walls, appliances, or cabinets. It keeps the layout the same, so no need for new plumbing or electrical work. This approach suits busy families who can’t handle long disruptions. Plus, it boosts home value with minimal effort. Think about it: a simple swap can make the area feel new. In about a weekend, you transform the heart of the home while staying within budget limits.
Assess Current Countertops
Here, we look at how to check existing countertops for issues and decide if replacement fits without bigger changes.
Start by inspecting the surface closely. Look for damage like deep scratches, burns, or water spots that cleaning won’t fix. Measure dimensions accurately, including length, width, and any cutouts for sinks or stoves. Note the material laminate, granite, or quartz? This helps pick a compatible replacement. Check if cabinets below are sturdy enough to support new weight. If they’re weak, reinforce them first. Take photos from different angles to reference later. This step prevents surprises during installation and ensures the project stays smooth.
Choose New Countertop Materials
This part discusses options for materials that work well without altering the rest of the kitchen setup.
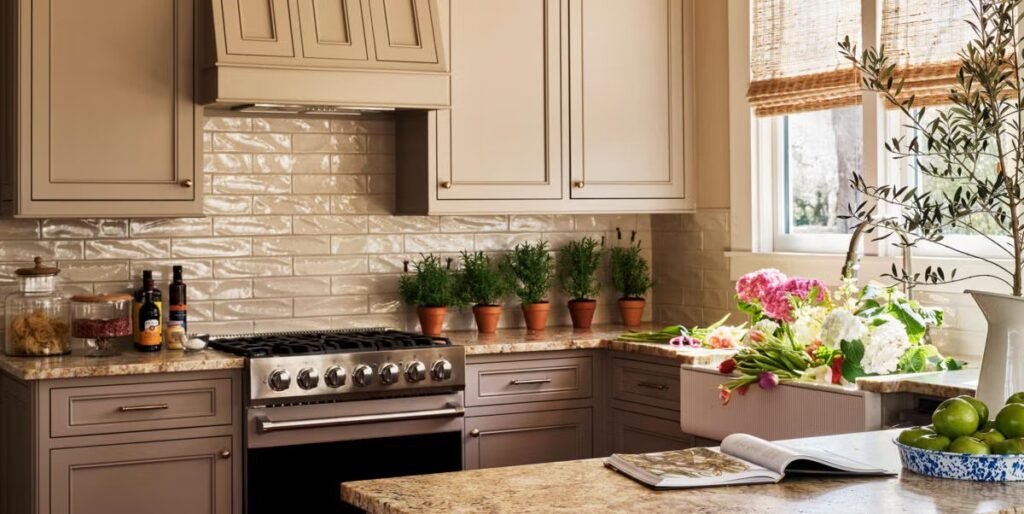
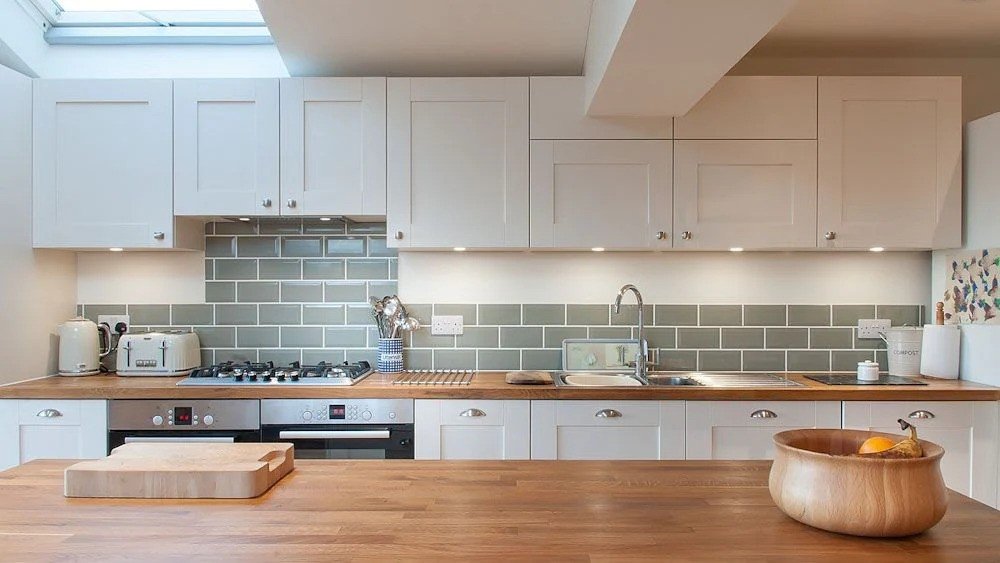
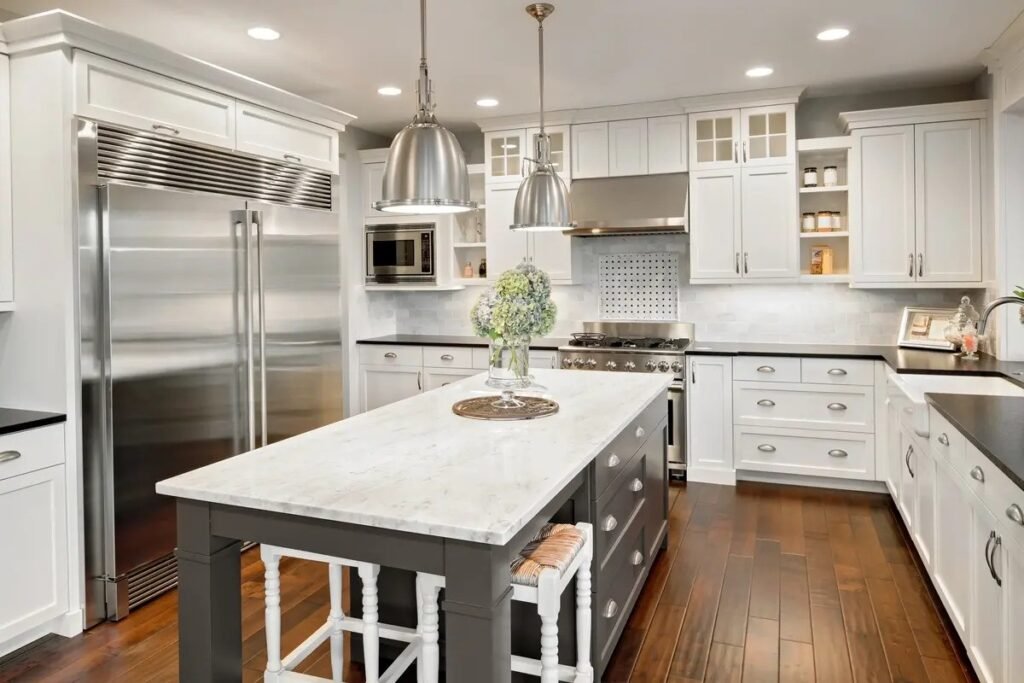
Picking the right material matters for durability and style. Laminate offers affordability and easy care, ideal for quick updates. Quartz provides strength against heat and stains, mimicking stone without high cost. Granite adds natural beauty but needs sealing. Consider butcher block for warmth if you like wood tones. Factor in thickness to match existing height so appliances fit properly. Visit stores to see samples in person. Think about color and pattern to blend with current cabinets and backsplash. Good choices last years and resist daily wear from chopping and spills.
Gather Tools and Materials
We cover what items you need to collect before starting the project to make things go without stops.
Prepare a list to avoid trips mid-project. Basic tools include a screwdriver, pry bar, utility knife, and level. For materials, get the new countertop slabs or sheets, adhesive if required, and caulk for sealing edges. Don’t forget safety gear like gloves and goggles. If cutting is needed, rent a circular saw with a fine blade. Measure twice to ensure pieces fit exactly. Buy extras for mistakes, like additional screws or shims. Organize everything in one spot for easy access. This setup saves time and reduces frustration during the work.
Remove Old Countertops
This section guides you through safely taking out the existing surfaces without harming surrounding areas.
Begin by turning off water and power to the sink and appliances. Disconnect the faucet and drain lines carefully. Use a utility knife to cut through any caulk along edges and backsplash. Gently pry up the countertop with a bar, starting from one end. Work slowly to avoid splintering cabinets. If it’s secured with screws underneath, remove those first. Lift sections out in pieces if they’re heavy. Dispose of old material responsibly, checking local rules for recycling. Clean the exposed cabinet tops thoroughly to remove glue or debris before moving on.
Prepare Surface
Here, learn how to ready the base for new installation to ensure stability and a clean fit.
After removal, inspect cabinet frames for levelness. Use shims to even out any dips or tilts. Sand down rough spots on the tops for smooth contact. Apply plywood if the new material requires a solid underlayment. Measure again to confirm dimensions match. Wipe away dust and apply primer if needed for better adhesion. This prep work prevents future issues like wobbling or gaps. Take time here—rushing leads to poor results. A flat, clean base makes the next steps simpler and helps the new tops last longer.
Install New Countertops
This explains the process of putting in the replacement pieces securely and neatly.
Position the new countertop sections on the cabinets, starting with the largest piece. Align cutouts precisely over sink and stove areas. Secure with screws from below if the material allows, or use recommended adhesive. Join seams with connector bolts for multi-piece setups, filling with color-matched filler. Apply even pressure to set everything flat. Use clamps to hold in place while drying. Reconnect plumbing and electrical lines carefully. Test for stability by pressing down along edges. This phase turns the project into a finished look, so patience pays off.
Finish Touches
We discuss adding seals, edges, and details to complete the update and protect the new surfaces.
Seal edges with silicone caulk to block moisture entry. Smooth it with a wet finger for a clean line. Install any trim or edging strips if included with the material. Reattach the backsplash if it was removed, or add a new one for better flow. Clean the entire surface with mild soap to remove fingerprints. Add under-cabinet lighting if desired for extra appeal, but keep it simple. Step back and check for evenness. These small steps enhance appearance and guard against wear, making the kitchen ready for use right away.
Common Mistakes to Avoid
This part highlights errors people often make and tips to steer clear of them for better outcomes.
One frequent issue is skipping measurements, leading to ill-fitting pieces. Always double-check. Another is ignoring weight heavy materials like stone need strong support. Test cabinets first. Rushing removal can damage walls or floors, so go slow. Forgetting to seal seams invites leaks and mold. Apply caulk generously. Overlooking ventilation during adhesive use risks health issues. Work in open areas. By watching these pitfalls, you save money on fixes and enjoy a professional result without extra trouble.
Cost Considerations
Here, we break down expenses involved to help plan a budget that fits without surprises.
Expect to spend between $500 and $3000, depending on material and size. Laminate runs cheapest at $20 per square foot, while quartz hits $80 or more. Tools might add $100 if buying new, but renting saves. Factor in disposal fees for old tops. DIY cuts labor costs, which pros charge $50 per hour. Shop sales or remnants for deals. Calculate square footage needed accurately to avoid waste. Setting a clear budget upfront keeps the project affordable and focused on value.
When to Call Professionals
This section advises on situations where expert help makes sense over doing it alone.
If countertops involve complex cuts around odd shapes, pros handle it better with specialized tools. Heavy slabs like granite require teams to lift safely. Electrical or plumbing complications beyond basics warrant calling in help. If time is short or skills lack, hiring avoids costly errors. Look for licensed installers with good reviews. They often provide warranties. While DIY saves cash, pros ensure quality and speed. Weigh comfort level if doubt creeps in, get quotes to compare.
Conclusion
Wrapping up, replacing kitchen countertops without a full remodel offers a smart way to update the space. You save time, money, and stress by focusing on one key element. From assessing old surfaces to adding final seals, each step builds toward a refreshed kitchen. Remember, careful planning and attention to details lead to success. If challenges arise, pros stand ready. Now, with this knowledge, you can tackle the project confidently.