Have you ever looked at your kitchen cabinets and thought they could use a fresh look without spending a fortune on new ones? Refinishing them yourself can transform your space, save money, and give you a sense of accomplishment. In this guide, I’ll walk you through the entire process step by step. You’ll learn about the tools and materials you need, how to prepare your cabinets, and tips to avoid common pitfalls. By the end, you’ll have the confidence to tackle this project and enjoy a kitchen cabinets that feels brand new. Let’s get started on making your cabinets shine again.
Why Choose to Refinish Your Kitchen Cabinets?
This section explains the benefits of refinishing cabinets instead of replacing them, helping you decide if this project fits your needs.
Refinishing your kitchen cabinets offers a budget-friendly way to update your home. New cabinets can cost thousands of dollars, but refinishing might set you back just a few hundred. It also lets you keep the layout you already like while giving everything a modern touch. Plus, it’s an eco-friendly choice since you’re reusing what you have instead of adding to landfills. If your cabinets are solid wood or in good structural shape, refinishing can make them last for years more. Many homeowners find this project rewarding because it personalizes their space without major renovations.
Another reason to refinish is to match your evolving style. Maybe your tastes have changed, or you’re selling your home and want to boost appeal. A fresh coat of paint or stain can brighten dark cabinets or tone down bright ones. It also hides scratches, dents, and wear from daily use. For families with kids or pets, refinishing with durable finishes protects against future damage. Overall, this approach saves time compared to a full replacement, often completing in a weekend or two with proper planning.
Gather Your Tools and Materials
Here, I’ll list out everything you’ll need for the job, so you can prepare ahead and avoid last-minute trips to the store.
First, think about safety gear. You’ll want gloves, safety glasses, and a mask to protect against dust and fumes. For tools, grab screwdrivers for removing hardware, sandpaper in various grits like 120 and 220, and a sanding block or orbital sander for smoother results. Paintbrushes, rollers, and trays are key for applying finishes. Don’t forget painter’s tape to protect walls and counters. A drop cloth or plastic sheeting will catch messes and keep your floors clean.
Materials include primer if you’re painting, or wood conditioner for staining. Choose paint or stain that suits kitchen cabinets water-resistant and easy to wipe. For paint, go with semi-gloss or satin for durability. If staining, pick a color that enhances the wood grain. You’ll also need wood filler for repairs, degreaser to clean surfaces, and tack cloths to remove dust. Budget around $100-300 depending on quality, but higher-end products often yield better longevity. Check labels for low-VOC options to minimize odors in your home.
Assess Your Cabinets Before Starting
This part helps you evaluate if your cabinets are ready for refinishing and spot any issues early.
Begin by inspecting the cabinets closely. Open doors and drawers to check for loose hinges or sticking parts. Look for water damage, especially near sinks, as this might need repairs first. Solid wood cabinets refinish best, but laminate or veneer can work with special primers. Measure doors and frames to ensure you have enough materials. Note the current finish is it paint, stain, or varnish? This affects how you prep the surface.
If cabinets are very old or damaged, consider if refinishing is enough or if professional help is better. Test a small area with your chosen finish to see how it takes. Clean a spot and apply a sample; wait a day to check adhesion. This step prevents surprises later. Also, plan your workspace—clear the kitchen cabinets or work in a garage if possible. Good lighting helps spot imperfections. Taking time here sets you up for success and avoids wasted effort.
Prepare Your Workspace Safely
Learn how to set up your area to make the project efficient and minimize disruptions in your home.
Clear out the kitchen cabinets by emptying cabinets and removing items from counters. Cover floors, appliances, and nearby surfaces with drop cloths. If working indoors, open windows for ventilation or use fans. Set up a staging area for doors and hardware, like sawhorses in a garage. Label everything with tape so reassembly is easy number doors and note their positions.
Safety comes first: unplug appliances and turn off power if needed near work areas. Keep kids and pets away to prevent accidents. Have a fire extinguisher handy if using flammable products. Organize tools in one spot for quick access. This prep might take a couple of hours but saves time overall. A tidy space reduces stress and helps you focus on the fun parts, like seeing the transformation happen.
Remove Hardware and Doors
This section covers taking apart your cabinets carefully to make sanding and finishing easier.
Start with a screwdriver or drill to remove knobs, pulls, and hinges. Place hardware in labeled bags group by cabinet to avoid mix-ups. For doors, unscrew hinges from the frame first, then lift off. Drawers pull out easily; set them aside. If doors are heavy, get a helper to avoid drops.
Clean hardware if reusing it. Soak in soapy water or use a degreaser for grime. For a new look, spray paint them in a matching color. This step exposes all surfaces for even refinishing. Work methodically to prevent losing small parts. If hinges are rusty, replace them cheaply at a hardware store. Proper removal ensures no damage and makes the next steps smoother.
Clean the Surfaces Thoroughly
Discover why cleaning is crucial and how to do it right for a flawless finish.
Kitchen cabinets build up grease, so use a strong degreaser like TSP (trisodium phosphate) mixed with water. Wear gloves and scrub with a sponge or cloth. Rinse well with clean water to remove residue, which can ruin paint adhesion. For stubborn spots, try a mixture of vinegar and baking soda.
Let everything dry completely overnight if possible. Wipe with a tack cloth to pick up lint. This step removes oils that cause bubbling or peeling later. Even new-looking cabinets need this; fingerprints and dust hide easily. Good cleaning leads to professional results without extra sanding. Skip it, and your hard work might not last.
Repair Any Damage
Fix dents, scratches, and holes to create a smooth base for your new finish.
Use wood filler for small imperfections. Apply with a putty knife, overfill slightly, then sand flush once dry. For larger cracks, wood glue might help before filling. On edges or corners, build up layers if needed. Match filler color to your wood or paint over it.
Sand repaired areas smooth with fine grit paper. Check by running your hand over feel for bumps. This repair extends cabinet life and prevents issues from worsening. If damage is extensive, like warped doors, consider replacements. Simple fixes here make the final look polished and hide years of wear effectively.
Sand the Cabinets Properly
Get tips on sanding techniques to remove old finish and prepare for new layers.
Start with coarser sandpaper, like 120-grit, to strip varnish or paint. Use an orbital sander for flat areas and hand-sand curves. Always sand with the grain to avoid scratches. Vacuum dust between grits, then switch to 220 for smoothness.
Wear a mask sanding creates fine particles. For painted cabinets, you might need a chemical stripper first if layers are thick. Test in a hidden spot. Sanding evens surfaces and helps new finish stick. Take your time; rushed sanding shows in the end. Aim for a matte, uniform look before moving on.
Apply Primer or Conditioner
Understand when and how to use primer or wood conditioner for better results.
For painting, primer seals wood and promotes even coverage. Choose one for kitchen cabinets oil-based for stain blocking. Brush or roll on thinly; let dry per instructions, usually 1-2 hours. Sand lightly between coats if needed.
Staining requires wood conditioner to prevent blotching, especially on soft woods like pine. Apply with a cloth, wait 15 minutes, then wipe excess. This evens absorption for consistent color. Skipping this leads to uneven tones. One coat usually suffices. Proper priming sets the foundation for durable, attractive cabinets.
Choose and Apply Your Finish
Learn about paint versus stain and application methods for a pro finish.
Decide on paint for a solid color or stain to show wood grain. Paint hides flaws better; stain highlights natural beauty. For paint, use two coats of semi-gloss for wipeability. Roll frames, brush doors for control.
Stain with a rag or brush, wipe off excess after 5-10 minutes for desired shade. Multiple layers deepen color. Seal with polyurethane for protection two to three coats, sanding between. Work in thin layers to avoid drips. Good lighting spots missed areas. This step brings your vision to life.
Reassemble and Install
Put everything back together smoothly after finishing dries.
Wait 24-48 hours for full cure before handling. Reattach hinges to doors, then to frames. Align carefully to avoid gaps. Install hardware last to prevent scratches.
Adjust doors for even closing tighten or loosen screws as needed. Test drawers for smooth gliding; add wax if sticky. This reassembly feels satisfying as your kitchen cabinets comes together. Double-check levels for a neat appearance. Small tweaks here make a big difference in daily use.
Tips for Long-Lasting Results
Share practical advice to maintain your refinished cabinets over time.
Clean gently with mild soap and water; avoid harsh chemicals that dull finish. Use coasters under appliances to prevent scratches. Touch up chips quickly with matching paint or stain.
For humid kitchen cabinets , add dehumidifiers to reduce warping. Reapply sealant every few years for extra protection. Organize insides to minimize door slamming. These habits keep cabinets looking fresh longer. Regular care turns a weekend project into lasting value.
Common Mistakes to Avoid
Highlight pitfalls and how to steer clear for a smoother experience.
One error is rushing prep poor cleaning or sanding leads to peeling. Measure materials twice to avoid shortages. Don’t paint in high humidity it causes bubbling.
Overloading brushes creates drips thin coats are better. Forgetting labels mixes up parts. Work in good ventilation to avoid headaches from fumes. Learning from these keeps your project on track and results impressive.
Cost Breakdown and Savings
Break down expenses to show how DIY saves money compared to pros.
Basic supplies like sandpaper, primer, and paint total $150-250. Tools you might already own add little. Pro refinishing costs $2,000-5,000 for average kitchen cabinets .
DIY saves big but factor time 10-20 hours spread over days. Reuse leftovers for future projects. Shop sales for deals. This approach fits tight budgets while delivering custom results.
Variations for Different Cabinet Types
Adapt the guide for wood, laminate, or metal cabinets.
Solid wood takes stain well follow standard steps. Laminate needs special bonding primer sand lightly first. Metal cabinets require rust removal and metal primer.
Each type might need tweaks, like extra coats on porous surfaces. Test finishes on scraps. These adjustments ensure success regardless of material.
Eco-Friendly Options
Suggest green choices for materials and methods.
Pick low-VOC paints to reduce air pollution. Use natural stains from plant sources. Recycle old hardware or donate unused supplies.
Water-based finishes clean up easily and smell less. These options make your project kinder to the planet without sacrificing quality.
When to Call a Professional
Know your limits and when expert help is wise.
If cabinets have major structural issues, pros handle repairs better. Large kitchen cabinets might overwhelm solo efforts. Lack of tools or time? Hire out.
Pros bring experience for tricky finishes. Weigh costs against your skills. Sometimes, blending DIY with pro touches works best.
Inspiring Before and After Ideas
Get motivated with transformation examples.
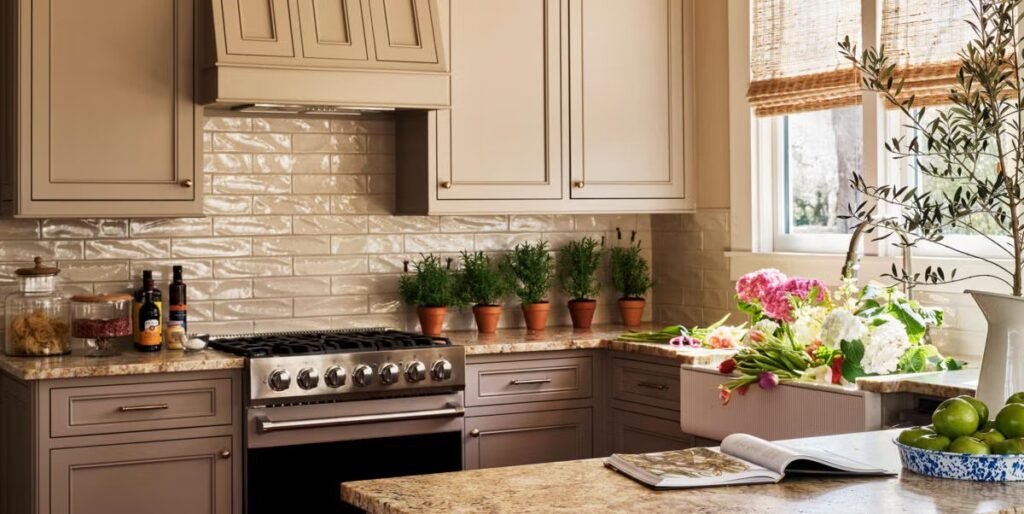
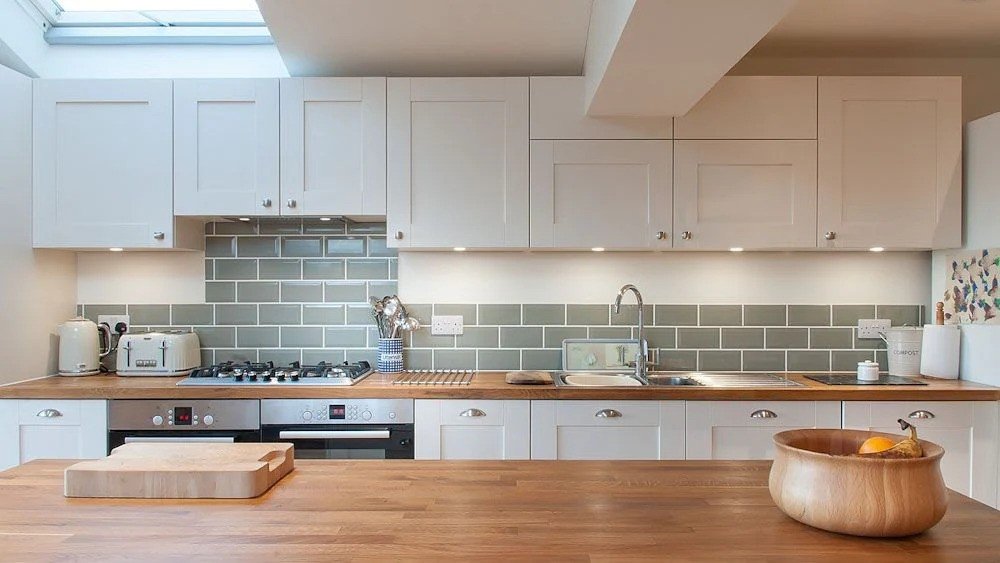
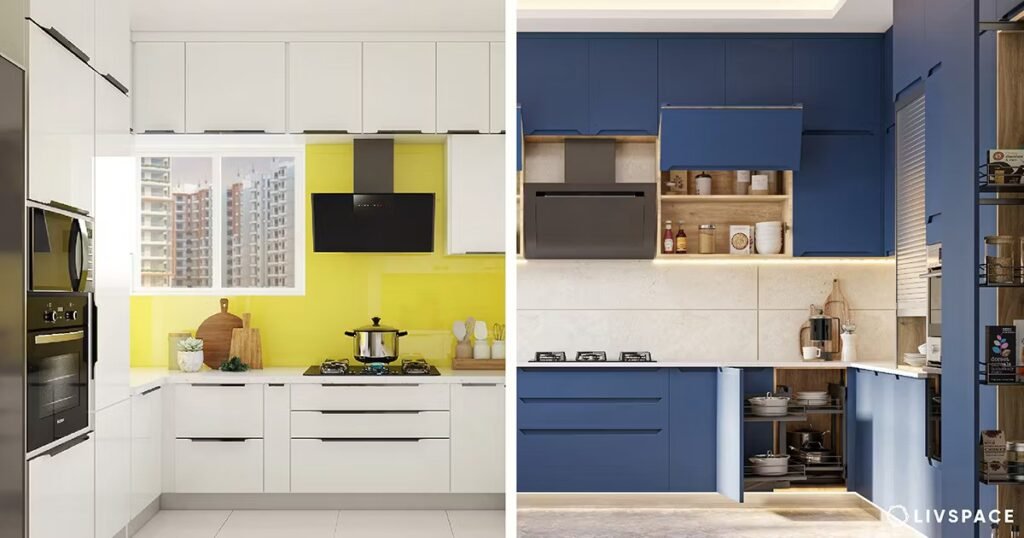
Imagine dark oak turning crisp white for a bright kitchen cabinets . Or staining maple for warmth. Add new knobs for flair.
Search online for visuals, but focus on your space. Small changes like color shifts refresh without overhauls.
Conclusion
Refinishing your kitchen cabinets DIY-style is a smart way to refresh your home affordably. You’ve learned the steps from prep to finish, plus tips to make it last. With patience and the right tools, anyone can achieve great results. Now, grab your supplies and start transforming your kitchen cabinets . You’ll love the new look and the pride in doing it yourself.