Have you ever noticed a musty smell in your tiny small bathroom or seen dark spots creeping up the walls? That’s often a sign of water sneaking where it shouldn’t. In small bathrooms, where space is tight and moisture builds up fast, good waterproofing can save you from costly fixes down the road. This post shares practical tips to keep your bathroom dry and protected for years. We’ll cover planning, materials, step-by-step methods for floors, walls, showers, and more, plus ways to avoid pitfalls and maintain it all. By the end, you’ll have the know-how to tackle this yourself or guide a pro.
Why Waterproof Your Small Bathroom?
This section explains the reasons behind waterproofing, focusing on risks in compact spaces and benefits like preventing mold.
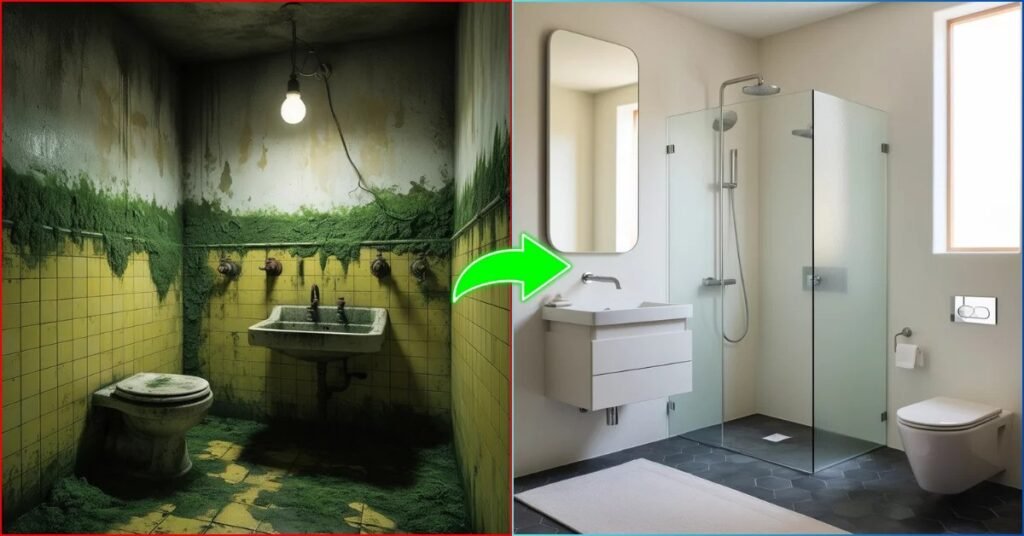
Small bathrooms trap steam and splashes more easily than bigger ones because there’s less air flow. Without proper seals, water can seep into walls and floors, leading to rot, mold, and even structural issues over time. Think about it: a leaky shower in a cramped spot might ruin your whole setup. Waterproofing acts as a shield, keeping everything dry and safe. It also boosts your home’s value and cuts down on repair bills. Plus, it makes cleaning simpler since surfaces stay smooth and resistant to stains.
Many folks skip this step during renos, but it’s key for long-term peace of mind. In humid areas, moisture can build up behind tiles, causing tiles to pop off or grout to crack. By waterproofing right, you create a barrier that stops water in its tracks. This is especially important in rentals or older homes where space is limited and ventilation might not be great. Start thinking about it early in your project to avoid headaches later.
Planning Your Waterproofing Project
Here, we look at how to map out your bathroom layout and spot trouble areas for effective waterproofing.
First, grab a tape measure and sketch your small bathroom’s layout. Note where the shower, sink, and toilet sit, as these are prime spots for leaks. In tight spaces, every inch counts, so check for uneven floors or walls that could let water pool. Make a list of surfaces needing protection, like the area around the tub. This planning helps you buy just the right amount of materials without waste. It’s smart to inspect for existing damage too, like soft spots in the floor, before starting.
Consider your budget and skill level next. If you’re handy, a DIY approach works, but for tricky parts like plumbing seals, call in help. Look at local building codes to ensure your work meets standards. In small bathrooms, focus on multi-use materials that save space, like thin membranes over bulky boards. Test your plan by marking areas with tape to visualize coverage. This step prevents surprises and ensures your waterproofing lasts.
Essential Materials for Waterproofing
This part lists key items you’ll need, with tips on choosing ones suited for small areas.
Start with waterproof membranes, either liquid or sheet types. Sheets like Schluter KERDI are great for small bathrooms because they’re lightweight and easy to cut. They create a seamless barrier against water. You’ll also want mold-resistant backer boards for walls and floors to replace regular drywall that soaks up moisture. Don’t forget sealants like silicone caulk for joints pick ones labeled for wet areas to avoid cracking over time. Thin-set mortar is crucial for attaching tiles securely without trapping water underneath.
Other must-haves include vapor barriers for humid climates, which go behind walls to block condensation. For floors, grab uncoupling membranes to handle any movement and prevent cracks. Tools like a trowel, utility knife, and level make the job smoother. In compact spaces, opt for peel-and-stick options or microcement for quick application without mess. Always choose high-quality stuff; cheap materials might fail sooner, leading to redo work.
Waterproofing the Floors
We cover methods to protect bathroom floors, including sloping and membrane application for durability.
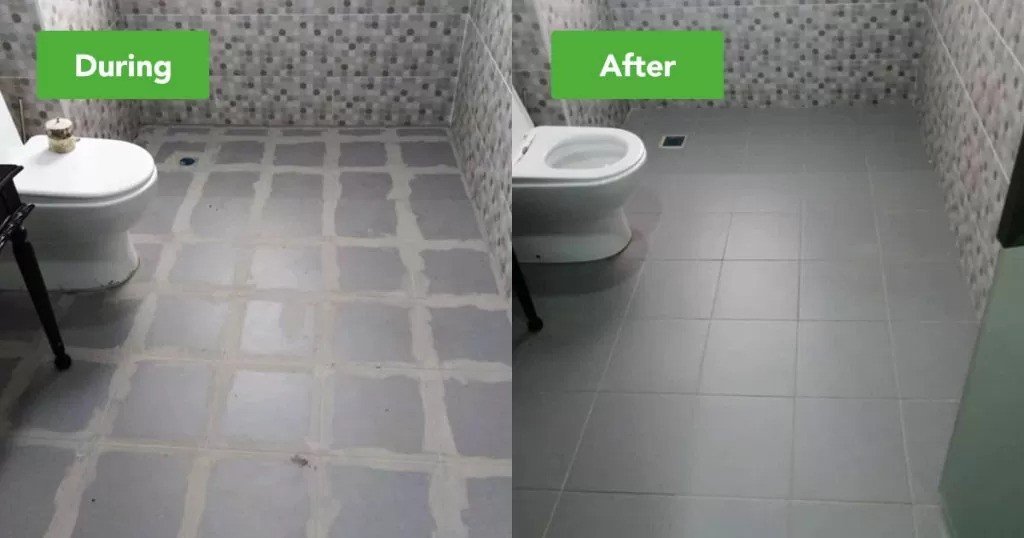
For small bathroom floors, begin by cleaning the subfloor thoroughly to remove dirt or old adhesive. Level it out if needed, then apply a waterproof membrane. Liquid ones are brushed on like paint, while sheets are rolled out and sealed at edges. This layer stops water from reaching the wood below. In tight spots, use flexible materials that fit around drains easily. Slope the floor slightly toward the drain to keep water from pooling even a tiny angle makes a big difference.
Next, install your flooring choice, like porcelain tiles or vinyl planks, over the membrane. Seal grout lines well, as they’re common leak points. For lasting results, go with fully waterproof options like luxury vinyl, which clicks together without gaps. Avoid carpet or wood that swells with moisture. Test for leaks by running water after installation. This approach keeps your small bathroom floor dry and slip-free for years.
Regular checks help maintain floor waterproofing. Look for cracks in grout and reseal them promptly. In small spaces, use mats to catch drips, but shake them out often to prevent mold under them. Good ventilation dries the floor faster, so run a fan after showers.
Waterproofing the Walls
This section details wall protection techniques, from backer boards to paints, tailored for compact bathrooms.
Walls in small bathrooms face constant splashes and steam, so start with waterproof backer boards instead of standard drywall. Cut them to fit your space and screw into studs. Apply a membrane over top – liquid for curved areas or sheets for flat ones. Seal all seams with tape or band to create a continuous shield. This prevents water from seeping behind and causing damage.
Choose finishes like tiles or waterproof paint next. Half-height tiles work well in small rooms, topped with semi-gloss paint that’s easy to wipe. Vinyl wallpaper is another option for less wet zones, but skip paper types that peel. In cramped areas, mirrors with sealed edges add light without risking moisture issues. Let everything dry fully before use to ensure bonds hold strong.
For accents, try sealed wood slats or metal prints on non-shower walls. Keep them away from direct water and ventilate well to avoid warping. Reseal paint or grout every few years for ongoing protection.
Waterproofing the Shower and Bathtub
Focus on shower and tub areas, with steps for membranes, curbs, and seals in limited spaces.
In a small bathroom shower, use foam boards with built-in membranes for easy install. Cut to size, fit around pipes, and seal seams with thin-set mortar and bands. Add a prefab curb at the entrance, sloped to direct water back in. This setup is light and quick, perfect for tight spots without heavy lifting.
For bathtubs, clean the surface first, then apply primer and waterproof paint in layers. Use tape on edges for reinforcement. Surround walls get the same membrane treatment as showers. Seal around the tub base with caulk to block gaps. In small baths, combine with a shower for dual use, ensuring all joints are watertight.
Test by filling the tub and checking for drips. Maintain by cleaning seals regularly to prevent buildup that weakens them.
Sealing Joints and Fixtures
Learn how to seal edges, pipes, and fixtures to stop leaks at vulnerable points.
Joints where walls meet floors are leak magnets in small bathrooms. Apply waterproof caulk generously, smoothing it with a finger or tool for a clean finish. For fixtures like sinks, use plumber’s putty or silicone around bases. Pipe penetrations need collars or seals – mud around holes and cover with bands for extra security.
Around windows or vents, tape membranes extend over frames. In compact spaces, these details matter more since water has fewer places to go. Let seals cure fully before testing with water. Reseal every year or when you spot wear, like cracking or discoloration, to keep everything tight.
Common Mistakes to Avoid
One big slip-up is skipping the membrane, thinking tiles alone suffice. But water slips through grout, so always add that barrier layer. In small bathrooms, this leads to fast-spreading damage. Another is poor sloping – flat floors let water sit, breeding mold. Check levels often during install.
Using wrong materials, like regular paint or wood, absorbs moisture and fails quick. Opt for rated waterproof ones instead. Forgetting ventilation is common too; steam lingers in tight spaces, weakening seals. Install a good fan and use it. Rushing drying times causes weak bonds – patience pays off for lasting work.
Ignoring codes or pros for complex parts risks safety issues. Always double-check your plan against local rules.
Maintenance for Long-Lasting Results
After waterproofing, run your exhaust fan for 20-30 minutes post-shower to clear moisture. Wipe down walls and floors daily to stop buildup. Check seals and grout monthly for cracks, resealing as needed. In small spaces, this routine prevents big problems since issues show up fast.
Clean with mild agents to avoid damaging surfaces. Use mats but dry them out to dodge hidden mold. If you spot wet spots or smells, investigate right away – early fixes save money. Every few years, recoat membranes or paint for fresh protection. Good habits like these extend your bathroom’s life.
Conclusion
Waterproofing your small bathroom might seem like extra work, but it pays off with a dry, healthy space that stands the test of time. From planning and picking materials to sealing every nook and applying maintenance routines, these steps build a solid defense against water woes. Whether you’re doing it yourself or hiring help, focus on quality and details for the best outcome. Your bathroom will thank you with fewer repairs and more comfort. Ready to start? Grab your tools and make it happen – a watertight bathroom is within reach.